Back to School Whole Orange Muffins


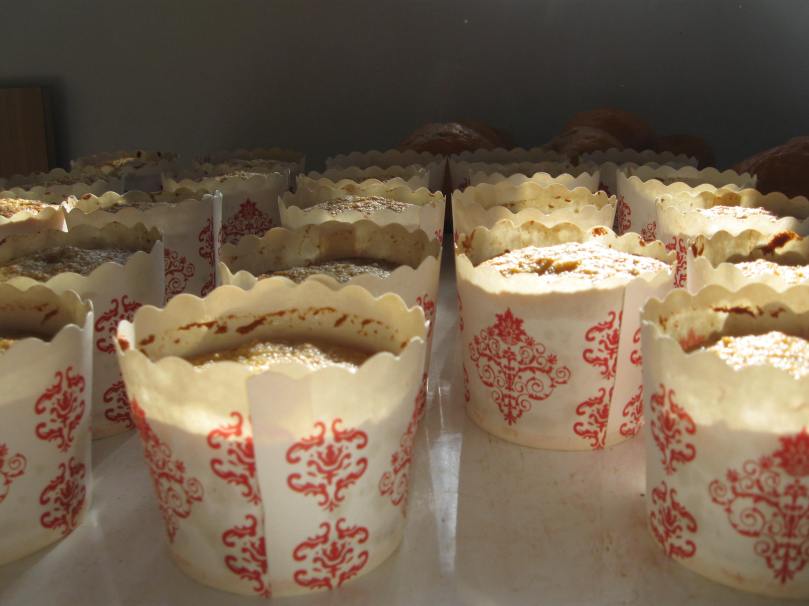
Hanging Rock Free Range EggsVintage Kenwood Electric MixerWhole Orange MuffinsOdgers_and_McClelland_Exchange_Stores_Whole_Orange_MuffinsWhole_orange_muffin-1You know you are onto a winner recipe when the children ask you to make a second batch. This is just what happened when the last Back to School Whole Orange Muffin was devoured.

It is such a blessing that oranges are in season during winter. When there is little colour in the garden the pop of orange against dark, glossy, green foliage is an absolute joy.

The first time I made a similar recipe using whole oranges, I was dubious about the method. Boiling whole oranges until they are soft, chopping them roughly and then pulping them to mix with other ingredients? Really? But if you haven’t discovered similar recipes already I encourage you to give it a try. The intense citrus flavour is delicious. And combined with almond meal, the texture is wonderfully moist and dense. You can’t go wrong (even if you leave them in the oven a little too long like I did with our second batch, the recipe is very forgiving).

I experimented with using Demeter Spelt Flour and Kurrajong Ridge Sorghum Flour. Both flours are milled locally at Gunnedah, and Quirindi in northern inland New South Wales. I can’t say I have a preference, but I definitely prefer the flavour and texture of spelt or sorghum flours to wheat. And they are great alternatives for people looking to reduce or eliminate gluten in their food.

I have also made Brownies using Kurrajong Ridge Sorghum Flour and the flavour and texture was so impressive that a friend asked about what ingredients I used. I credit the Kurrajong Ridge Sorghum Flour, using Demerara Sugar and quality cocoa (Woolworths homebrand is surprisingly good). Hello Kate Berry Lunch Lady has another great (and deliciously gooey) brownie recipe, which I’ve made using sorghum flour.

Whole Orange Muffins

(Adapted from a recipe for Whole Orange Cake, Donna Hay, winter Issue 16 – yes, I have a problem throwing out magazines)

Ingredients: 2 oranges, 175g butter (room temperature and chopped), 1 ½ cups caster sugar, 3 eggs, ¾ cup almond meal, 1 ½ cups plain all purpose flour (substitute same quantity of Spelt or Sorghum Flour for gluten free option), 2 teaspoons baking powder (I use Demeter Baking Powder by Wholegrain Milling, worth tracking down).

Method: Preheat oven to 160 degrees Celsius. Wash the oranges and place in a saucepan of water over medium heat. Bring the water to the boil, then reduce the heat and simmer the oranges for 30 minutes or until soft. Remove the oranges, cool slightly, and then chop roughly.

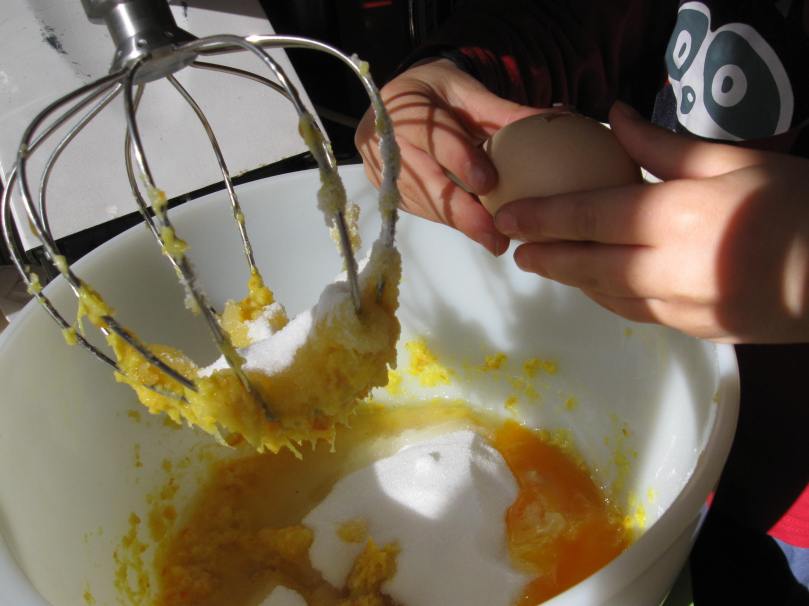
Process the oranges in a food processor until finely chopped. I use a tall jug and stick blender. If necessary, transfer pulped orange to the bowl of an electric mixer, and add the butter, sugar, eggs, almond meal, flour and baking powder and process until smooth.

Spoon the mixture into self-supporting patty pans, until about ¾ filled, on an oven tray, lined with baking paper or greased with cooking spray. This recipe makes about 24 small muffins or 18 large muffins. Bake for 30 minutes or until cooked when tested with a skewer. Cool in the patty pans on a wire rack. If you would like to serve as a desert, make a syrup of orange peel, removed from one orange with a zester to make fine strips, 1 cups of water and one cup of sugar, bring to the boil and simmer for 10 minutes, stirring to dissolve sugar. Spoon zest on top of muffins on individual dessert plates and gently pour syrup over muffin to moisten subtly.

Turning on the oven again

Image

We recently returned from a week away at the beach to delightful drizzling rain. We were so happy that rain had been the opening and closing curtain to our holiday, because last year we had torrential rain the whole week we were away.

The rain seems to have heralded a change in the season. Ever since we arrived home it has started to cool down. Such a relief from the ghastly 40 degree days we experienced in January. It has brought with it an enjoyment of the garden again and a desire to turn on the oven and cook.

As the weather cooled I reached for one of my favourite books, ‘A Story of Seven Summers’ by Hilary Burden, to cook Isis’s beetroot chocolate cake. But first I had to track down which member of our book club had borrowed my copy. On sending my first SMS I found it. My neighbour Nicola had it and it was soon back on my book shelf.

I first read an excerpt from Hilary’s book in Country Style magazine and later tracked down the full book, and later recommended it for our book club. Hilary and I both write for Country Style as freelancers. We exchange notes from time to time. I recognised Hilary’s name when she ordered some bits and pieces from our store and enjoyed picturing them in her Nun’s House.

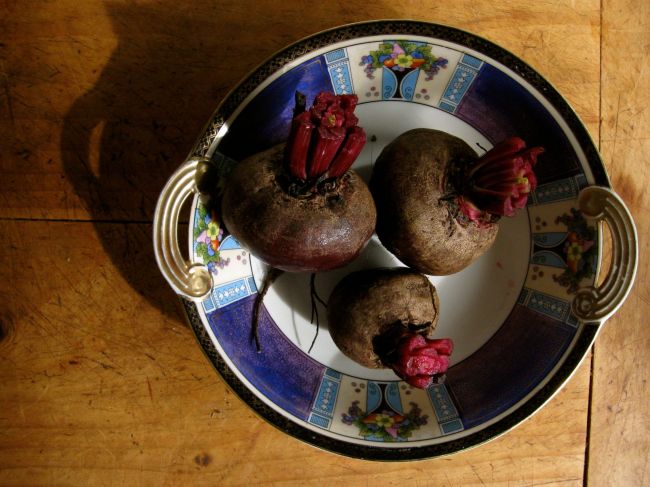
Gryf and I made Isis’s beetroot chocolate cake for the boys to take to school for morning tea. I enjoy cooking the beetroot in boiling water for about 10 minutes and after the beetroot has cooled slightly, effortlessly sliding the skins away. If your hands are stained, try rubbing them in lemon juice to remove the beetroot.

Isis’s beetroot chocolate cake (from ‘A Story of Seven Summers’ by Hilary Burden)

Ingredients: 75 g cocoa powder, 180 g plain flour, 1 tsp baking powder, 250 g caster sugar, 250 g cooked beetroot, 3 large eggs, 200 ml vegetable oil, 1 tsp vanilla extract, icing sugar to dust.

Method: Preheat oven to 180 degrees Celcius and lightly butter a 20 cm round cake tin. Sift the cocoa, flour and baking powder in a bowl. Mix in the sugar. Blend the cooked beetroot in a food processor. Add the eggs, one at a time, then the oil and vanilla. Process until smooth. make a well in the centre of the dry ingredients, add the wet mixture and lightly mix. Pour into the cake tin and bake for 50-60 minutes or until a skewer inserted in the centre comes out clean. Cover loosely with foil if the cake starts to brown at 30 minutes (Hilary says, “Expect the top to crack”.) Leave for 15 minutes before removing from the tin, then place on a wire rack to cool. Dust with icing sugar to serve. I also like a dollop of our local Peel Valley Milk double cream and a few seasonal berries (strawberries, blackberries or blueberries).

Italian Country Soup

Image

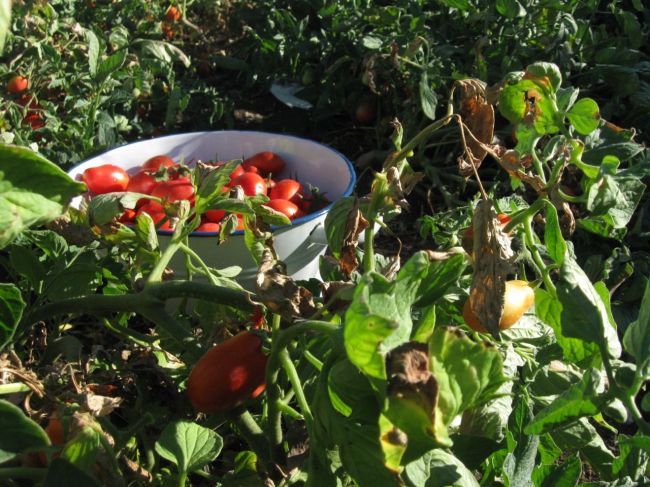
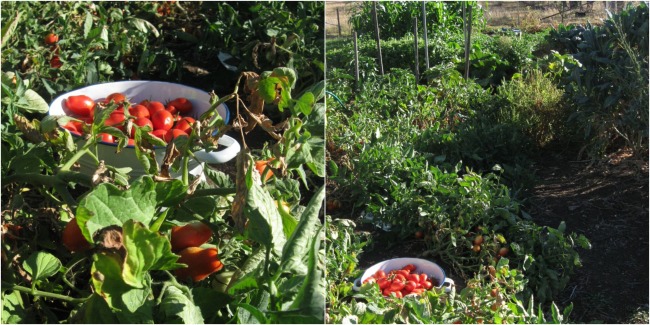
January is historically our second wettest month of the year. As a point of comparison in January 2013 we received 170mm of rain and in January 2014 we are grateful for the measly 21mm we received. Couple low rainfall with days of temperatures in the high 30s and low 40s, and it is sub-ideal for growing food. Yet, with splashings of bore water in the cool of the early morning and evening, we have coaxed a crop of tomatoes. Not our best, but better than expected.

Image

I enjoy the opportunity to cook with tomatoes picked several metres from our kitchen door. We usually preserve and freeze tomatoes to use throughout the year, but it is the fresh tomatoes I enjoy the most. Breakfast of toast topped with pesto made with basil from the garden, and chopped tomato is a simple pleasure.

Image

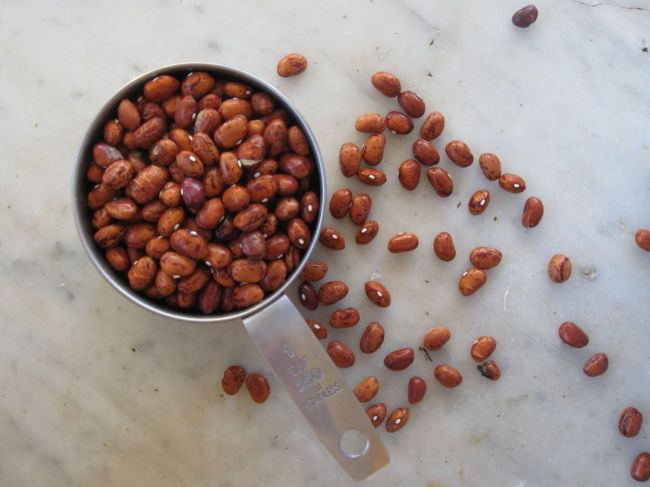
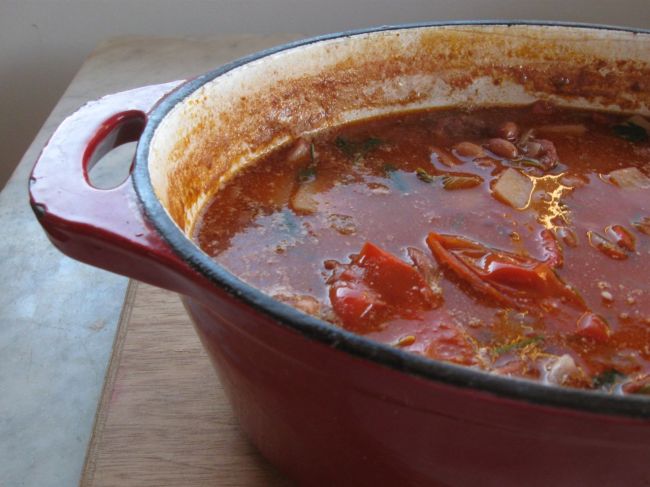
With an abundance of tomatoes and potatoes in the garden, and the last of the dried borlotti beans in the kitchen cupboard, I have Italian Country Soup in mind. This recipe is adapted from Brigitte Hafner’s Italian Country Soup recipe published in a newspaper magazine supplement years ago (sorry no publication or date on the torn out page).

Image

Italian Country Soup

Ingredients: 1 bunch of spring onions (you can use 2 leeks or an onion, washed and sliced), five chorizo (Brigitte used 100g pancetta), 2 garlic cloves, sliced, 3 tbsp olive oil, 1 large potato, diced, sprinkle of dried oregano or 1/4 cup chopped fresh herbs (I used parsley, basil and marjoram), 1/2-1 cup of dried borlotti beans soaked for about eight hours, splash of white wine, 450g can of Italian tomatoes or up to 800g fresh Roma tomatoes, roughly chopped, 3 cups water or chicken stock, salt and pepper, 1 sprig rosemary, small handful of risoni, broken fettuccine, or crusty bread.

In a heavy-based pot, cook onion and garlic over low heat until soft and golden. Increase to medium heat and add chorizo, turning and browning for several minutes until firm enough to slice. Slice sausage into bite-sized pieces and return to the pot. Add potato and cook for a couple of minutes. Add herbs and drained beans, tomatoes, wine and water or stock. Season with salt and pepper and add rosemary. Bring to the boil, skim surface and simmer for 40-50 minutes or until beans are soft. If using risoni, add and cook for a further 10 minutes, adding water if necessary, or serve with sliced crusty loaf of bread. Serve with grated parmesan cheese. Serves 4-6.

Making pesto

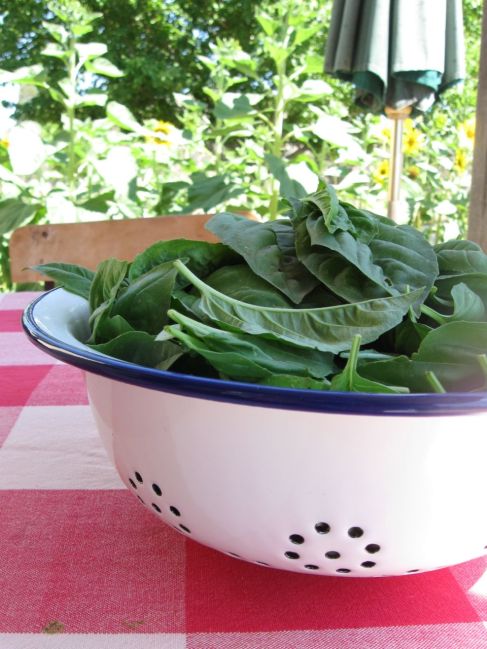
We grow basil, not by the pot but by the row. Come summer there never seems to be enough basil. There’s basil to add to simmering passata, bruschetta, preserved tomatoes, and pesto.

Image

This summer Duncan and I both planted basil so we would have our own supplies (last year I was chastised for using basil reserved for preserving). We mucked up the timing though so while the basil is in its prime the tomatoes are just starting to blush. So, keen to use the basil today I made pesto.

Image

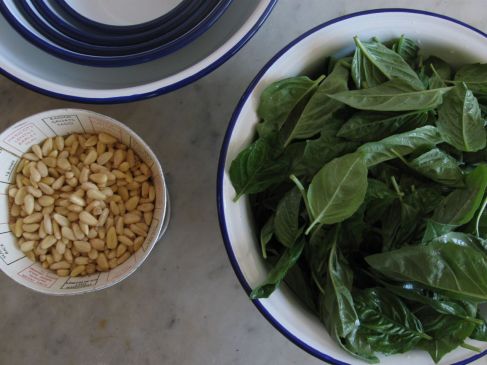
I use a couple of different recipes for pesto: David and Gerda Foster’s recipe from ‘A Year of Slow Food’, and Stephanie Alexander’s recipe from ‘The Cook’s Companion’. I experiment with nuts too. Pine nuts can be pricey, so I sometimes use peanuts if they are in the cupboard (or cashews if there’s a packet miraculously uneaten).

ImageI enjoy folding pesto into cooked pasta to ramp up the flavour and add interest to the presentation, although my boys are not keen on the colour (green!). And when you have that magic combination of tomatoes and basil in abundance bruschetta is heavenly. Even worthy of a homemade loaf of bread.

Image

Pesto (adapted from Stephanie Alexander’s ‘A Cook’s Companion’)

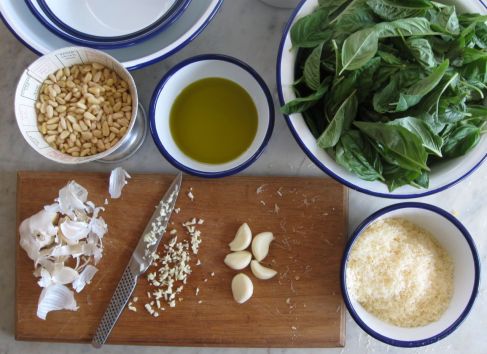
Ingredients: 1 cup basil leaves, 1/2 cup extra-virgin olive oil, 3 tablespoons pine nuts, 2 cloves garlic, crushed, salt, 60g freshly grated parmesan cheese.

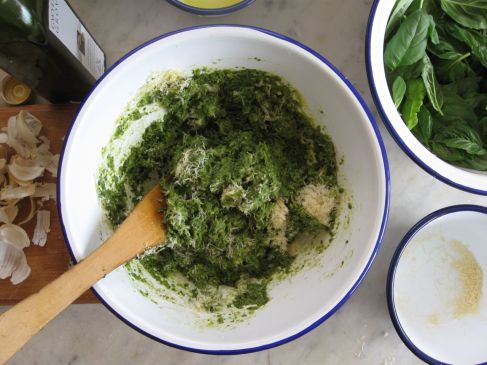
Method: Blend basil, oil, pine nuts, garlic and salt in a blender or with a stick blender until smooth, making sure to incorporate contents from sides. When blended, scrape into a bowl and stir in cheese. Store covered with a film of olive oil in a screw top jar.

[I used a large quantity of basil leaves, more like three cups and adjusted the proportions to suit, 1 1/2 cups pine nuts, 1 cup extra-virgin olive oil, six cloves garlic crushed, salt, and 120g parmesan. I am learning from two friends, who are great cooks, to play around with recipes and rely on flavour not measurements].

Christmas Baking with Gryf

Image

When it comes to cooking with children I’d love to be at the Stephanie Alexander end of the spectrum and welcome children into the kitchen with wide, open arms. I’m afraid I’m more at the actress Jane Kennedy end of the spectrum. Jane wrote a column for Sunday Style magazine describing her internal grimace whenever her children ask if they can help in the kitchen and I belly laughed with empathy.

I know it is important to cook with children. I cooked with our daughter Isabelle, 20, nearly every weekend when she was younger. Now we are reaping the rewards when she visits and offers to cook dinners and desserts. I admire her ability to combine ingredients, take a recipe and make it her own with improvisation, and her enthusiasm for cooking from scratch. Her latest brownies were a taste sensation.

Our youngest, Gryf, loves to “help” in the kitchen and has been trying his hand at mixing, beating and baking since he was old enough to stand on a chair and reach the kitchen bench. I try to be enthusiastic and involve him in what I’m doing. Of course at four-years-old he is most interested in making sweets. On Sunday mornings he’s there on a stool “helping” mix the pancake batter with beaters. Birthdays are a favourite time because he can “help” make a multitude of dishes in a short period of time. Lately, I’ve discovered it’s more relaxing for me to “help” him make something he wants to make, rather than vice versa.

Image

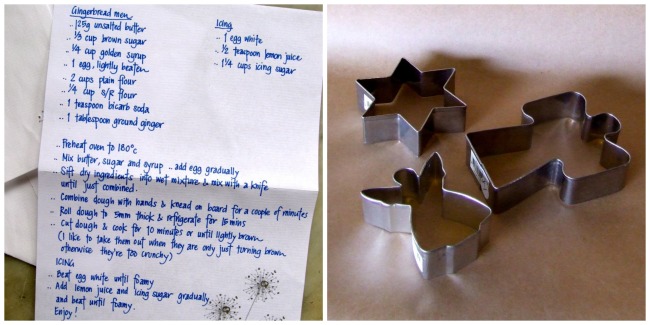
Leading up to Christmas Gryf was keen to make Gingerbread Christmas Biscuits so I found a handwritten recipe for Gingerbread Men given to me by a friend, Jodie. I love this recipe because it makes the most delicious gingerbread I’ve tasted (we sampled Jodie’s recipe at a playgroup Christmas party years ago). I also just enjoy looking at architect Jodie’s handwriting and notepaper. Isn’t it something?

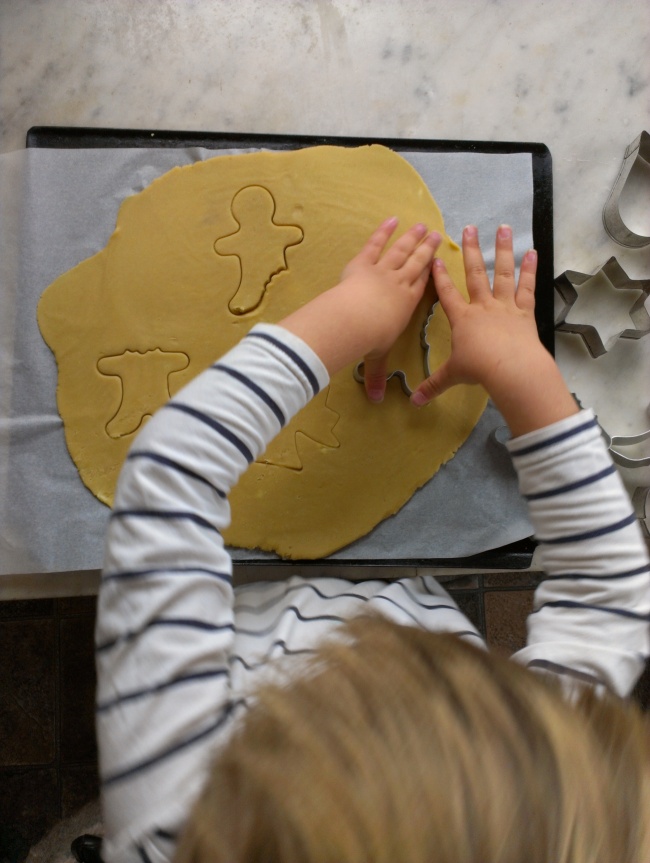
I helped Gryf mix the biscuit batter and use a rolling pin to flatten the base dough. He chose a few different biscuit cutters, Christmas trees, angels, stars, and gingerbread men with ‘bites’ taken out of them, and was all smiles as he pressed the impressions into the dough. He loved decorating the biscuits with icing (the lemon gives it a lovely tang) and we found some silver cachous pearls in the cupboard to add some biscuit bling. You could play around with piping the icing onto the biscuits for a more decorative effect. Then you’re all set to bring a plate for end of year Christmas parties or share a homemade gift with friends.

Image

Jodie’s Gingerbread Men

Ingredients: Biscuit batter – 125g unsalted butter, 1/3 cup brown sugar, 1/4 cup golden syrup, 1 egg lightly beaten, 2 cups plain flour, 1/4 cup self raising flour, 1 teaspoon bicarb soda, 1 tablespoon ground ginger. Icing – 1 egg white, 1/2 teaspoon lemon juice, 1 1/4 cups icing sugar.

Method: Preheat oven to 180 degrees Celcius. Mix butter, sugar and syrup, add egg gradually. Sift dry ingredients into wet mixture and mix with a knife until just combined. Combine dough with hands and knead on board for a couple of minutes. Roll dough to 5mm thick and refrigerate for 15 minutes. Cut dough and cook for 10 minutes or until lightly brown (Jodie advises taking them out when they are only just turning brown otherwise they’re too crunchy). For icing, beat egg white until foamy. Add lemon juice and icing sugar gradually and beat until foamy. Enjoy.

Have you tried Shakshuka?

Image

Back in March I tore a Jill Dupleix recipe for Shakshuka (baked eggs) http://www.goodfood.com.au/good-food/cook/spicy-shakshuka-20130218-2em6i.html from the pages of The Sydney Morning Herald’s Good Food supplement. I’d never heard of Shakshuka, but something about the combination of the rich tomato sauce and baked egg appealed to me. We often have a glut of tomatoes in February so I filed this recipe away for tomato season.

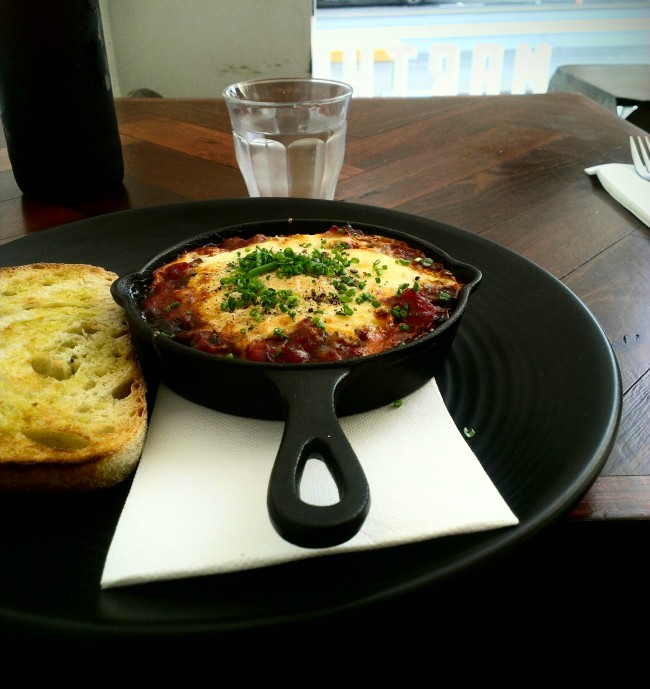
Since first reading about it in March, I kept coming across Shakshuka references in the food media. When I travelled to Melbourne in August I headed to Brunswick Street for breakfast after catching an early morning flight. The menu at Martha Ray’s featured Shakshuka and I was excited to try it (the kind waitress was forgiving of my hesitant pronunciation). With its Middle Eastern spices, thick tomato sauce, and soft-cooked egg, Shakshuka didn’t disappoint and I returned home eager to try Jill Dupleix’s recipe.

I made Shakshuka to share with friends and they know it as Sicilian Eggs. So while Shakshuka has Middle Eastern roots, my guess is different cultures and families have their own versions, perhaps with different names. Do you have your own name for Shakshuka?

Image

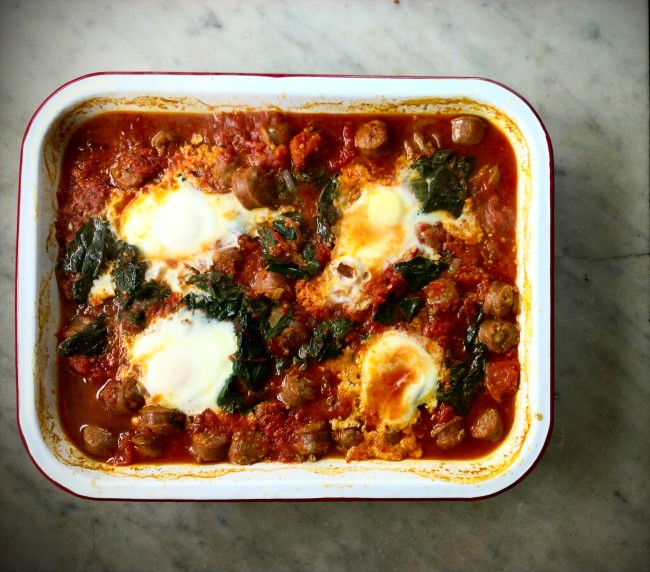
With litres of frozen preserved tomatoes on hand Shakshuka has become a regular dish at the Trousdale household. I prefer a richer tomato flavour, so I don’t always use eggplant or capsicum if they are not in the house or garden. Shakshuka can be served in invidividual cast iron pans, but if you’re cooking for a family a baking pan works well. This is my interpretation of Shakshuka if you’d like to try it.

Rich Tomato Shakshuka

Ingredients: Olive oil, 1 Spanish onion, four garlic cloves, 800g tinned tomatoes, tablespoon of tomato paste, six Chorizo sausage, bunch of mixed greens (kale, silverbeet, English spinach, broccoli leaves), stems removed and leaves chopped roughly, teaspoon harissa (optional), teaspoon ground cumin, teaspoon paprika, four to six eggs depending on size of dish and number of people. Salt, pepper, parmesan and slices of rustic loaf of bread to serve.

Method: Preheat oven to 160 degrees celcius. Slice Spanish onion thinly and soften over a medium to high heat in a tablespoon of olive oil. When onion is softened, lower temperature to medium heat and cook garlic until soft (two minutes). Add Chorizo and cook until firm, then slice and return to the pan. Add 800g of tinned tomatoes (I use thawed preserved tomatoes, but tinned tomatoes are delicious too), a tablespoon of tomato paste, a teaspoon each of harissa, ground cumin and ground paprika, and chopped greens, and simmer until thickened (about 20 minutes, depending on how much time you have, the flavour only gets better with more time). Add water if need be and simmer to adjust sauce consistency. Transfer Chorizo and tomato sauce to a baking pan. I love the visual appeal of the red tomato sauce in a red rimmed Falcon enamel baking pan, but use what you have. Depending on the number of eggs you are using, make the same number of ‘dishes’ with the back of a ladle or soup spoon in the sauce mixture and crack an egg into each. Cover the baking pan with foil and return to the over for about 10 minutes. When eggs are baked to you liking, spoon mixture and eggs into bowls and serve with slices of rustic bread (sometimes I serve with cous cous and a salad). Enjoy.

Grandma’s White Wings recipe box

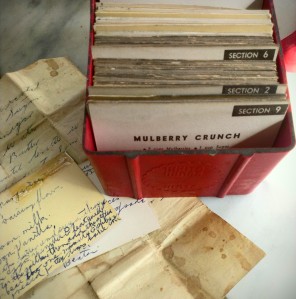
Grandma's White Wings recipe box is among the latest personal treasures to be unpacked at the new old house.
Grandma’s White Wings recipe box is among the latest personal treasures to be unpacked at the new old house.

Moving out of half of the shop to our eight acres just outside Nundle last year came with the unusual advantage of not having to move everything straight away. We had the luxury of being able to camp out in the new old house and rip up carpet, sand floors, and paint without working around furniture. The downside is that 18 months later we haven’t finished moving. I am promising myself that when our youngest starts school next year I will empty the shop warehouse of all our personal gear.

Most weeks I chip away and bring a few goodies from the shop to “Cudgee”. Recently I brought home my grandmother’s White Wings recipe box. I don’t remember seeing this red box in Grandma’s flat or house, but I am fond of it because it reminds me of Grandma and it is a time capsule of its era (I’m guessing the 1940s, but correct me if I’m wrong). I love the simple typography and layout of the recipe cards, recipes for things like Brawn, Mock Duck, and Curried Rabbit, and housekeeping handy hints for How to Iron Silks!, Damping Down, and Hanging Out!

There are also some recipes in Grandma’s hard-to-read handwriting on little yellowing cards, or on sheets of paper folded to fit the box. I remember her handwriting was always a mystery to my eyes, more like a spider web on paper than letters forming words. I always fancied the slim silver pen she kept in her handbag to write important notes in her small silver covered notepad.

The recipes remind me of Grandma’s sweet tooth, there are handwritten cards for Lemon Butter, Toffee, One Egg Chocolate Cake and Boiled Pineapple Fruit Cake. When I posted a photo of the red recipe box on our Odgers and McClelland Facebook page one of our Friends asked for the Mulberry Crunch recipe (only the title was shown in the photo). Here it is:

Mulberry Crunch (from the White Wings boxed recipe collection, circa 1940s)

Ingredients: 2 cups Mulberries, 1 cup Sugar, 1 1/2 cups White Wings Self Raising Flour, 1 cup Brown Sugar, 2 tblsps. Butter.

Method: Stew mulberries in their own juice with 1 cup sugar. Place in a greased ovenware dish. Into flour and brown sugar, rub the butter until it resembles fine breadcrumbs. Spread over mulberries. Bake in a moderate oven till pale brown. Serve hot or cold with custard or cream.

Making Marmalade

Image

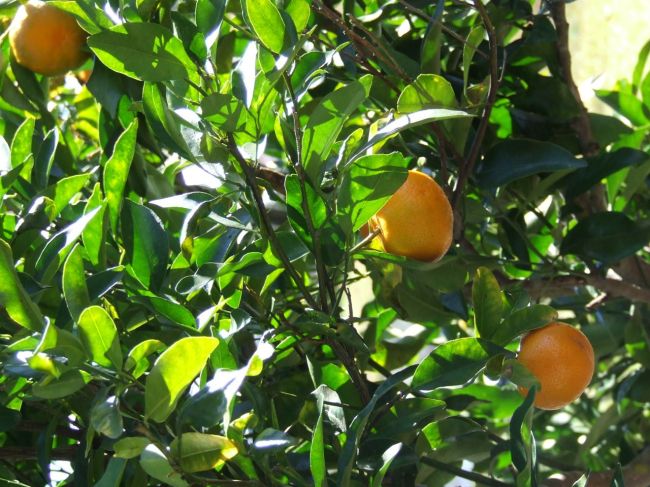
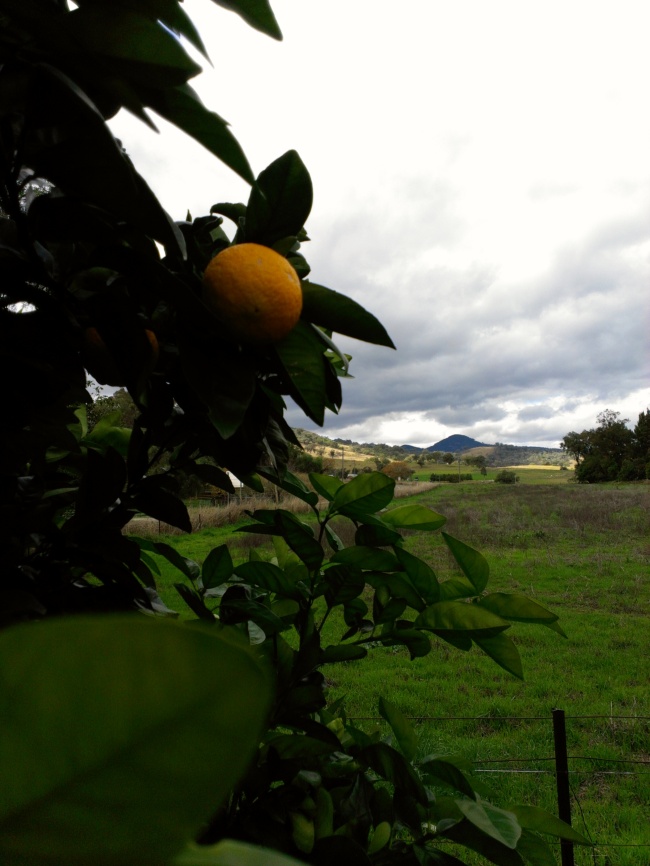
Nundle can be a bare, pared back landscape in winter and I thrill to see the brightness of oranges on trees with their lush, green foliage. When we travel by car in winter we play a game of spot the orange tree. Sometimes the orange trees are lovingly tended in gardens, while others are remnants of abandoned gardens, the houses and occupants long gone.

Image

Cormac and I were spectators at a Peel Valley small schools athletics carnival recently, but the high jumpers, sprinters, and long jumpers didn’t hold my attention. I was distracted by half a dozen orange trees growing in the far north east corner of the recreation ground. One of the host teachers encouraged us to pick a basket full before we left. They were planted for the community to share.

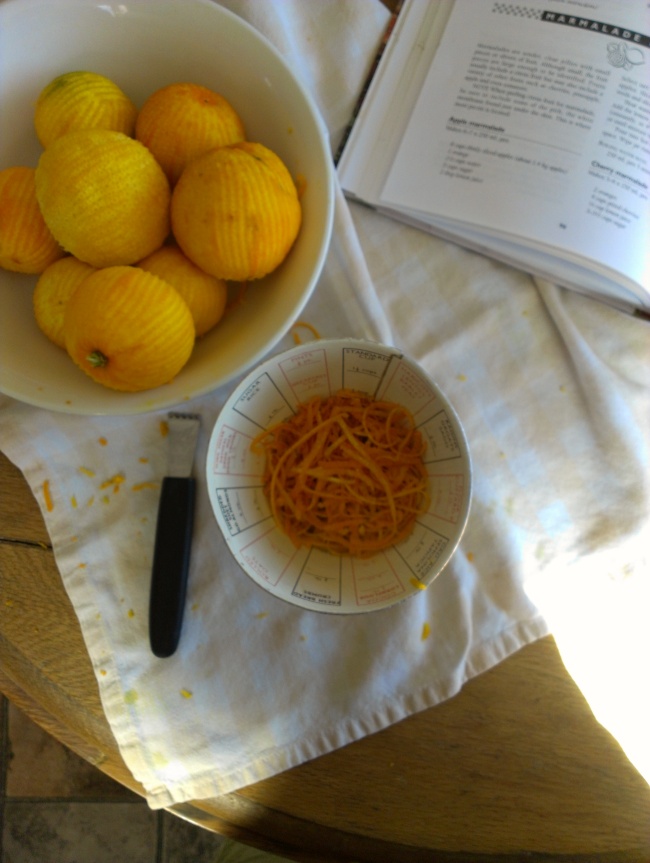
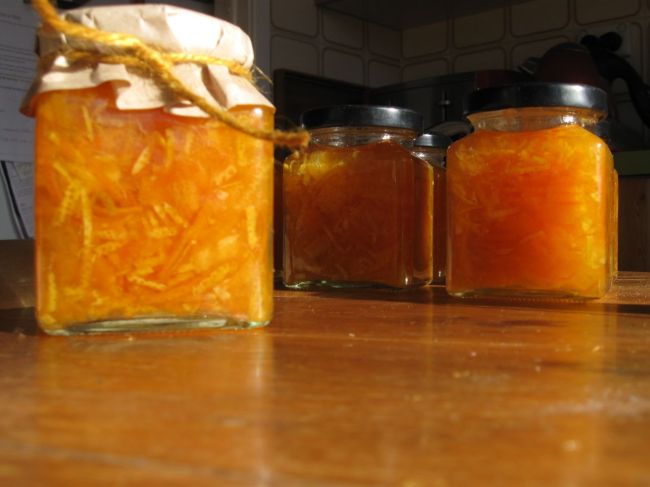
ImageI come from a family of enthusiastic jam makers. Mum and Dad have always made jam from their excess fruit and Duncan’s blackberry jam is legendary. After buying eight acres outside Nundle, Duncan’s “to-do” list doesn’t leave much room for making jam, so it’s over to me. I trawled our recipe books for a Marmalade recipe, settling on Choice book, Food Preserving at Home, by John Gross. Our youngest son Gryf is a keen helper in the kitchen, but he found the zester hard to handle in his four-year-old’s hands.

Image

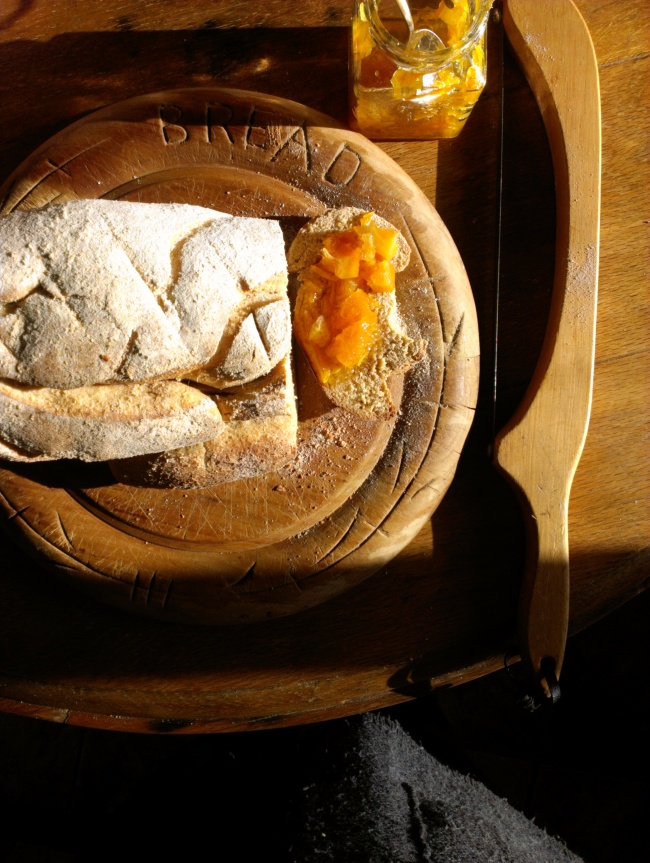
With such beautiful marmalade in the house we couldn’t spread it on a commercial, sliced loaf, so I whipped up a couple of country style rustic loaves. Breakfast became an event. Slicing the dense, homemade loaf of bread, and spreading toasted slices with the chunky, orange, syrup marmalade.

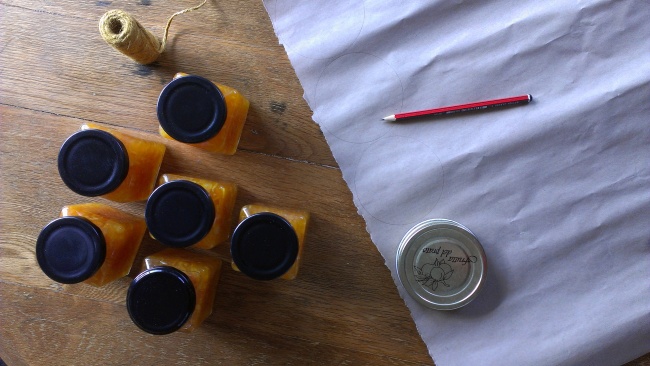
ImageWe had enough jars of marmalade to share so I made brown paper hats for the jars and tied them with twine from our shop. Orange of course. Apart from eating it ourselves, the biggest buzz comes from giving the marmalade away – great Father’s Day presents for my dad and father-in-law, and a gift for neighbour Judy for sharing her time and gardening knowledge.

Image

Orange Marmalade (Source: Food Preserving at Home,  John Gross)

Makes about 7 x 250mL jars (boil jars and lids for 5 minutes to sterilise)

Ingredients: 4 cups thinly sliced orange peel (about 6 large oranges), 4 cups chopped orange pulp (about 6 large oranges), 1 cup thinly sliced lemon (about 2 medium lemons), 6 cups water, 6 cups sugar. I use a zester on the orange and lemon peel for a finer peel consistency.

Add water to fruit in a saucepan. Heat to simmer and simmer for 5 minutes. Cover the mixture and let stand for 12-18 hours in a cool place. Cook over medium heat until peel is tender, about 1 hour. Measure fruit and liquid. Add 1 cup sugar for each cup of fruit mixture. Bring slowly to the boil stirring until the sugar dissolves. Cook rapidly to the jellying point, about 25 minutes, stirring occasionally. Pour hot marmalade into hot sterilised jars leaving 6mm head space. Wipe jar rims and tighten lids. Enjoy liberally on toast.

Picking greens and cooking with eggs

Image

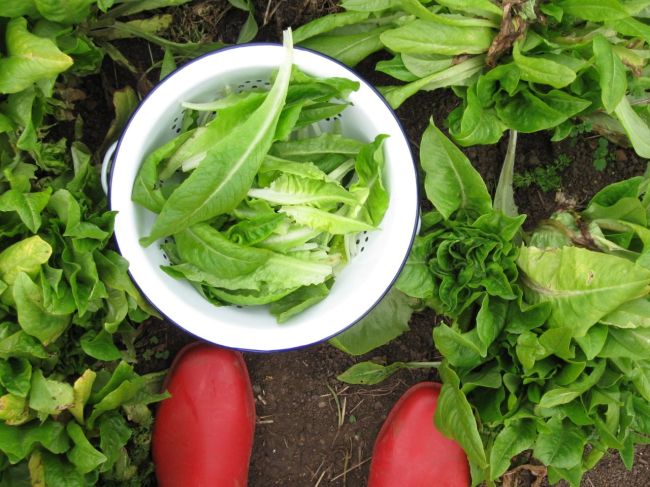
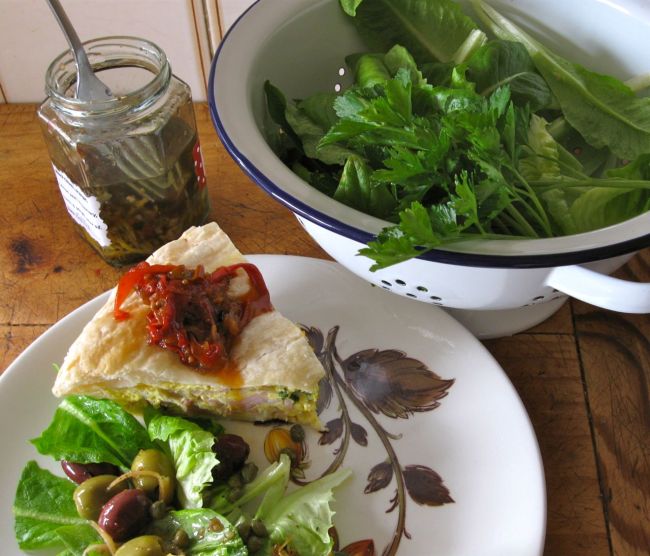
This morning I helped Duncan with a new delivery of Falcon enamelware and among the bake sets, saucepans and mixing bowls were colanders, wrapped in tissue paper and nestled inside one another. The enamel colanders reminded me how much I love picking salad greens from the garden, giving them a wash under the tap and making an instant salad for lunch. So when Gryf and I arrived home we picked lettuce and flat-leaf parsley, added green olives, capers and balsamic vinegar and olive oil and served with last night’s left over Egg and Bacon Pie for lunch.

Image

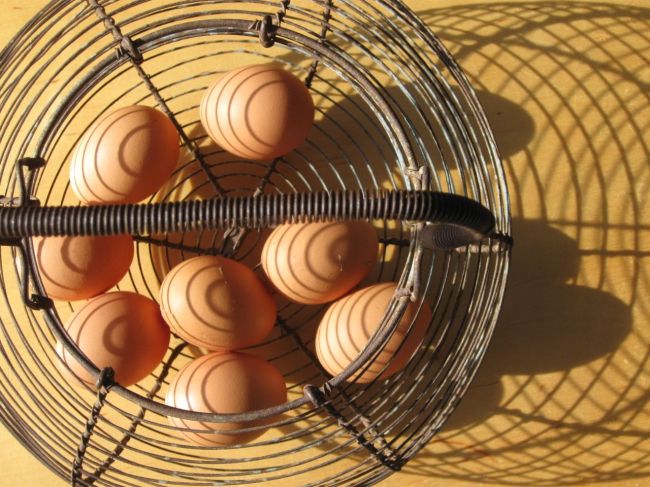
I’d love to share the recipe for Egg and Bacon Pie (by Jill Dupleix) because it is great for when you have eggs in abundance. We are down from four to two Isa Brown hens thanks to the local fox population and illness (sour crop), but we still have a build up from time to time. Just yesterday morning Duncan suggested I “Cook something with eggs”. The Egg and Bacon Pie recipe works equally well for small individual pies, made in 16cm Falcon enamel pie dishes or a muffin tray. I love the way you can see the equivalent of a boiled egg when you cut the pie into wedges. It looks attractive on the plate and is delicious to eat. Be adventurous and adjust the flavours to please.

Image

Egg and Bacon Pie, adapted from Jill Dupleix

Ingredients: 4 sheets frozen puff pastry, thawed, 2 tbsp oilive oil, 1 onion, finely chopped, five cloves garlic, finely chopped, 5 thick streaky bacon rashes, rindless, 10 free-range eggs, plus one extra, beaten, 100ml milk, 3 tbsp flat-leaf parsley, chopped, 2 tbsp grated parmesan or cheddar, sea salt and black pepper

Heat oven to 190C. Line a lightly oiled 22-centimetre pie dish (or individual pie dishes, or muffin tin) with pastry, pressing any joins to seal. Chop onion and garlic and soften in olive oil until golden. Chop bacon into three-centimetre pieces and fry until lightly crisped, then drain. Whisk five eggs with milk, parsley, cheese, salt and pepper. Scatter half the bacon, onion and garlic on the pie base and pour in the egg mixture. One at a time crack five eggs into a cup and gently slip them into the mixture. Scatter with remaining bacon. Brush the pastry rim with some of the extra beaten egg and lay remaining pastry over the top. Crimp the edge with a fork, trim off any excess pastry and brush top with beaten egg. Bake for 35 minutes or until lightly golden brown and cooked through. Cut pie into wedges and serve with salad or cooked vegetables. Serves 6 (or four with leftovers for lunch the next day).

Pastry-making Long Weekend

ImageIt’s leading into the June Long Weekend and at Nundle, in northern inland New South Wales, the weather is appropriately wintery. It’s overcast and showering outside and the fireplace is flickering orange and yellow, the flames warming us through to our bones.

Image

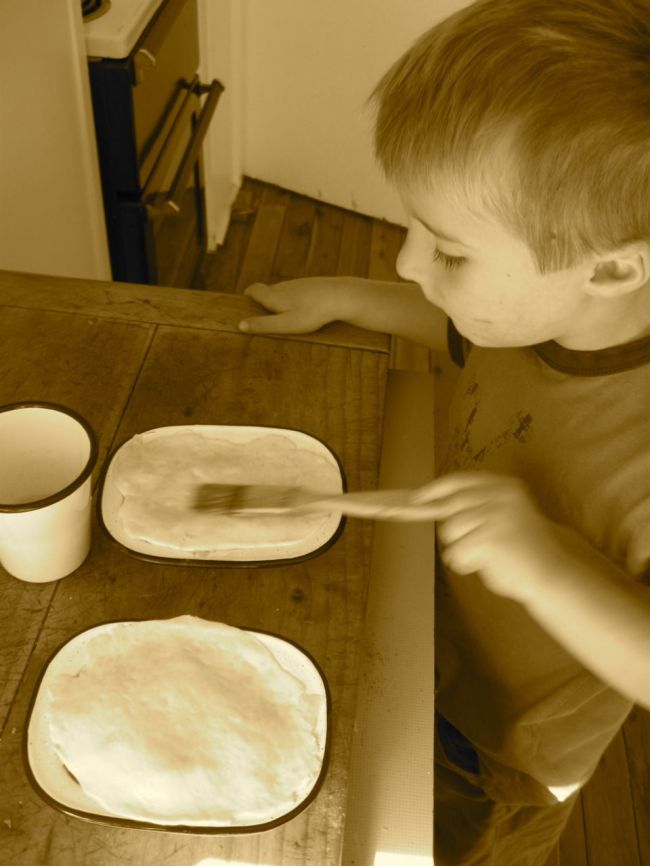
With children at home and a relaxed, unrushed Long Weekend feeling in the house there’s sure to be baking involved.

Image

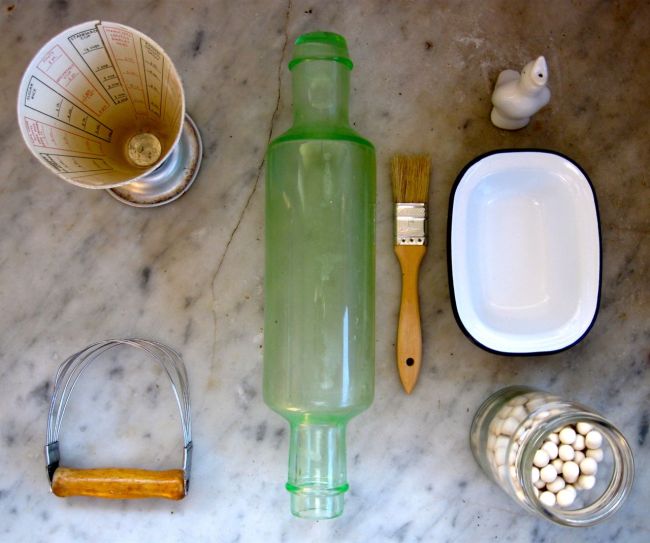
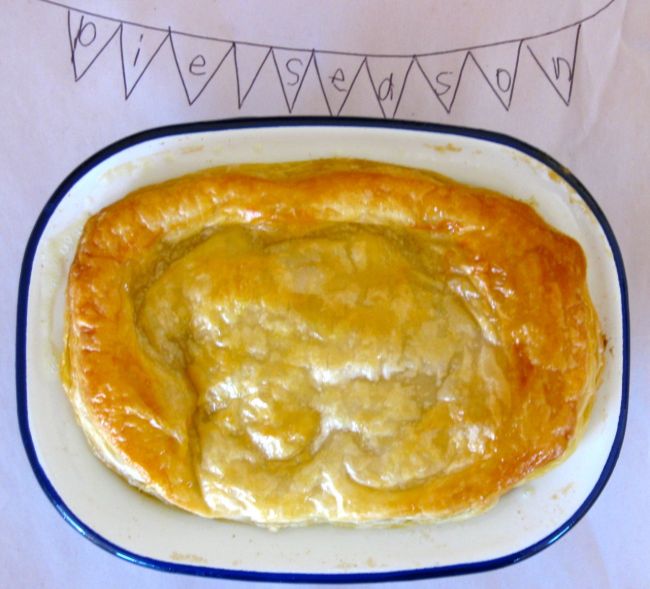
Having declared it Pie Season weeks ago, I’ve dug out one of my favourite go-to pastry recipe to share (originally published in a Donna Hay magazine years ago). It’s ideal for a family pie base and crust, but also suitable for individual pies. I hope you like the firm texture. It might become one of your favourites too.

Hot Water Pastry

Ingredients: 160g butter, 1 cup water, 3 1/4 cups sifted plain flour (I like the taste and texture of Demeter stoneground organic flour), 1 teaspoon salt, 2 eggs

Method: 1. Place butter and water in a small saucepan over a medium heat and bring to the boil. Place flour and salt in a bowl.

2. Add eggs and hot butter mixture to the flour and mix with a knife until combined. Knead on a lightly floured surface until smooth and combined.

3 Divide pastry into three, wrap in plastic film and refrigerate for 20 minutes. Roll out pastry on a lightly floured surface to 4mm thickness. (I find it easier to handle pastry by rolling it between two sheets of baking paper).

4. Line tins or pie dishes with pastry and roll out pastry for lids. Refrigerate for one hour.

5. Fill the pastry case/s with pre-cooked filling and brush rim/s with water. Place extra pastry on the pie/s to make lid. Trim excess pastry and press edges together using a fork. I like to brush pastry with an egg or milk glaze. Cut a small hole in the centre of each lid. Place in pre-heated moderate oven to heat filling and brown pastry (about 20-30 minutes). Enjoy.